Screw Conveyor Hanger Installation
When assembling a screw conveyor with multiple sections, a hanger is required to maintain proper alignment and support the screws. In this video, KWS shares the correct process to install a hanger ensuring that your equipment functions properly.
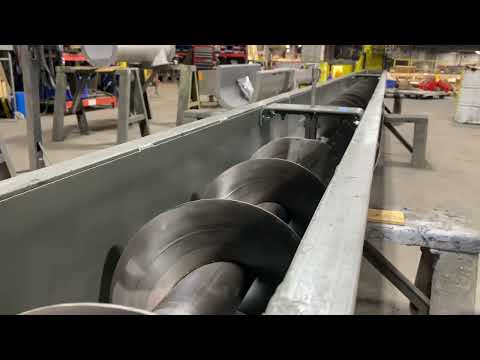
Video Transcript
How to Install a Hanger in a Screw Conveyor
When assembling a screw conveyor with multiple sections, a hanger is required to maintain proper alignment, and support the screws. Misalignment leads to premature wear on screw conveyor components.
Before installing screws and hangers, ensure that trough sections are aligned properly and bolted together. Beginning on drive end, install the trough end, drive unit and drive shaft. Next, lower the first screw into the trough and install it onto the drive shaft securing with coupling bolts. Insert coupling shaft into opposite end of screw and secure with coupling bolts.
Insert preassembled hanger bearing assembly onto coupling shaft. Using a piece of angle iron, align hanger assembly by tightening C-clamps until the top bar is flush with the top of the trough flange. Ensure bearing is equally spaced on both sides and hanger assembly is perpendicular to the trough wall.
Mark hanger top bar bolt holes and drill accordingly. Bolt hanger into place and tighten. Insert second screw onto coupling shaft and secure with coupling bolts. Tighten all hardware to KWS Operations and Maintenance Manual specified torque settings.